An angle grinder is a handy tool used for grinding, cutting, polishing. However, when using this helpful tool, many people have no idea when to replace angle grinder discs.
If you have a similar concern, there is no need to fret too much about this point. In this article, Angle Grinder 101 will put together some basic knowledge to help you answer this question. So let’s jump right into this article to get your mind across.
Contents
Overview Of An Angle Grinder Disc
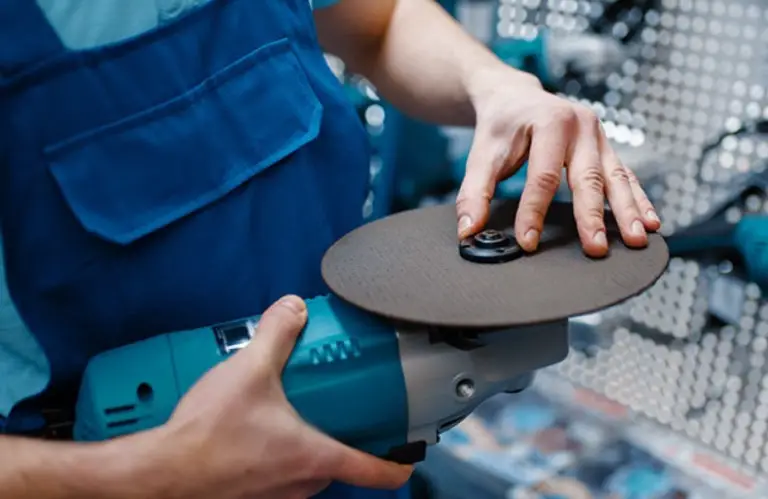
An angle grinder disc is a component of an angle grinder that revolves at a fast pace to conduct slashing and sanding tasks. This disc possesses an average speed from around 2,800 rpm to 12,000 rpm, based on the product’s make and version, as well as the options you set.
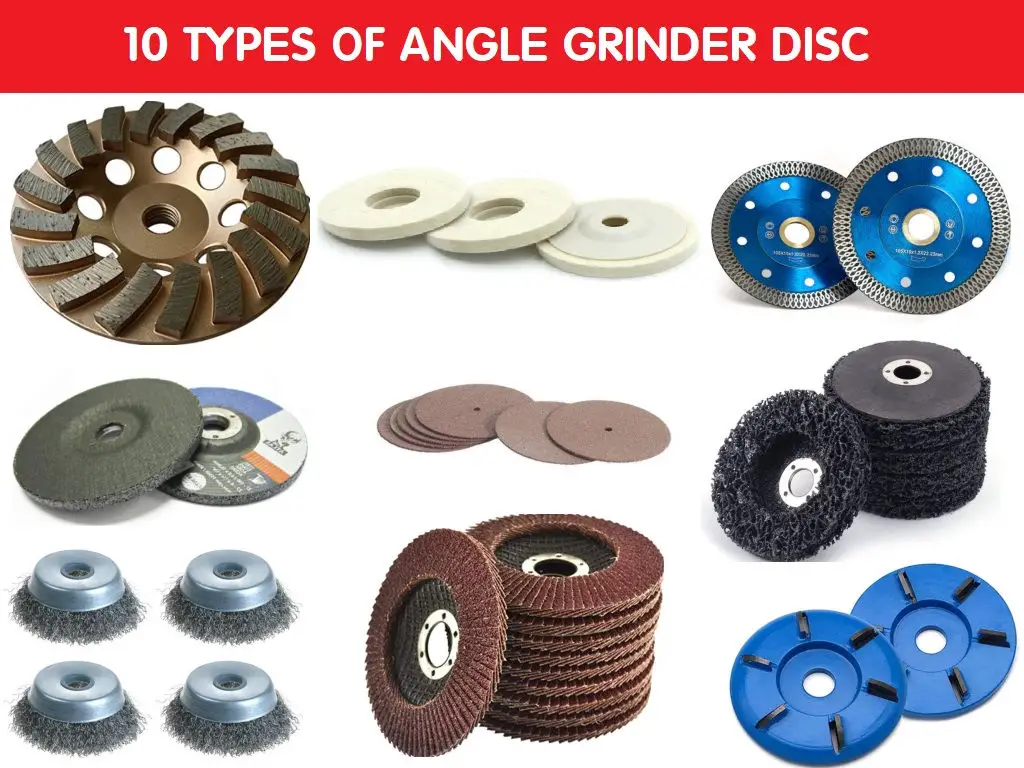
You could utilize your angle grinder for a number of tasks only by swapping out alternative discs. With this device, it’s easy to slice, grind, refine, sculpt, and do other things. Furthermore, you may deal with a variety of materials like steel, granite, cement, brick, or hardwood.
When To Replace Angle Grinder Disc?
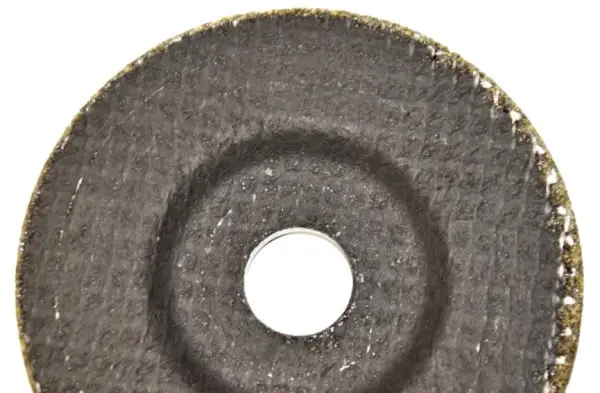
There seems to be no exact time for when you should replace an angle grinding disc. You can use them until the discs wear down and become less efficient and harder to work with. If you run your fingertips over the disc’s edge and it feels smooth, it’s a sign that it needs to be replaced.
However, you can pay attention to some common “symptoms” of an angle grinding disc that is worn and needs replacing as soon as possible:
- Unusual vibrations during cutting.
- Visible signs of deformation or damage.
- Slow cutting speed
- Strange noises while cutting
Keep in mind to pay attention to these signs to change an angle grinding disc in time not to affect your work efficiency.
Steps To Change An Angle Grinder Disc
Step 1. Unplug the tool from all electricity
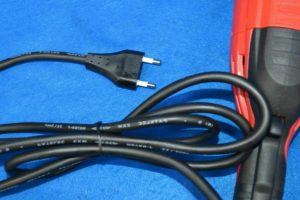
You should always keep in mind to ensure that you have completely detached your disc from the electricity source before taking any further steps.
There’s a good possibility you’ll hurt yourself if you don’t switch off the electricity. Thus, don’t forget to disconnect your tool from the wall porthole if you’re using a corded unit.
On the other hand, discard the battery from a cordless angle grinder if you are utilizing one. When you take the battery out, the tool will become much more lightweight and simpler to operate when changing angle discs.
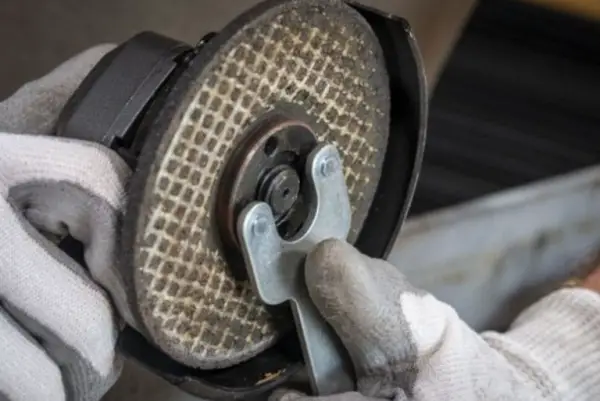
Step 2. Discharge the disc
-
Discard the disc using keys from the manufacturer
Two distinct keys, shaped similarly to flat wrenches, come with your new grinder. One of them resembles a regular one, whereas the other appears as a two-pronged fork.
First, you need to introduce the pins into the 2 openings residing in the drive bolt between the unit’s disc and motor.
Then, utilize the adjustable wrench to affix the bolt to the disc’s base. Next, crank the wrench with a hook opposite to the engine direction sign at the base while adjusting the wrench so that the rotor does not revolve.
Alternatively, you might spot a press on your side grinder that helps to maintain the disc’s position. Twist the screw until the disc gets removed from the unit.
-
Discard the disc using the spare keys
This is considered the easiest way to remove the angle grinder disc.
First, fasten the clamp grips to the disc (that retains the bolts) to secure the nut bolt. Then, utilize the jaws to keep the disc from revolving, and introduce a screwdriver into an opening bounded by the disc and the unit’s engine, which is meant to stroke the wrench.
Now, using the screwdriver, rotate the disc opposite to the indicator’s direction. Utilize a hammer to help the screwdriver spin easier if it doesn’t pop out right away.
-
Discard the disc without keys
Slide the disc with your palm opposite the direction of the indicator to assist in loosening the nut. When the disc is slackened, discard it using your fingers.
However, if this method isn’t effective, you could shatter the existing disc into fragments using pliers to have better exposure to the bolts and retaining nuts.
Step 3. Implement a new disc
Install a new disc on the drive bolt using a similar technique as you did with the previous disc.
One important thing that you need to keep in mind is using a disc manufactured for your specific angle grinder model. In case of uncertainty, bring the old one to the local hardware shop and check with the staff.
Finally, hand-fasten the new disc opposite to the old disc removal direction. At this point, you should function the angle grinder correctly. After changing the disc, you might have to change the device’s engine, which you could do with ease.
3 Angle Grinder Safety Tips
Prevent the risk of fire
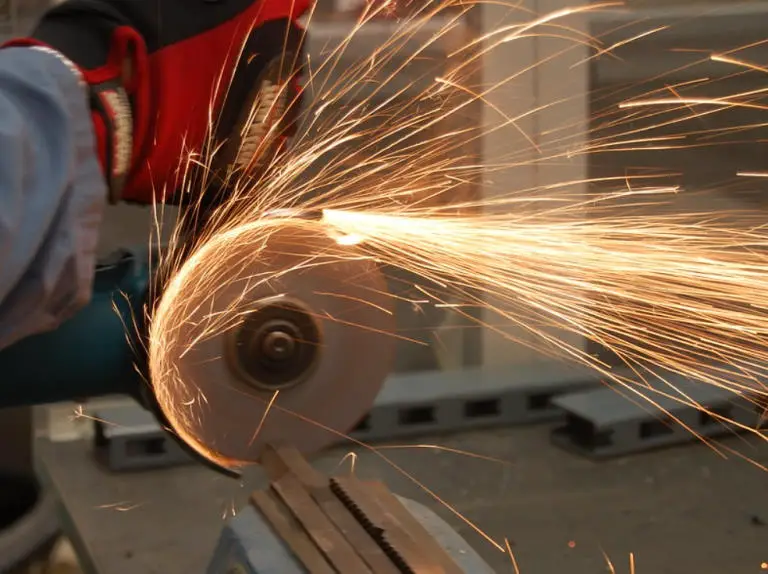
Whenever you grind or cut metal using this device, there would be some flares surrounding the grinding site, which could be pretty combustible and dangerous.
Therefore, to avoid accidentally catching fire and causing unexpected problems, ensure your grinding site is free of any incendiary or combustible items and keep in mind to check for any flammable substances or gases in the site.
Tighten the disc properly
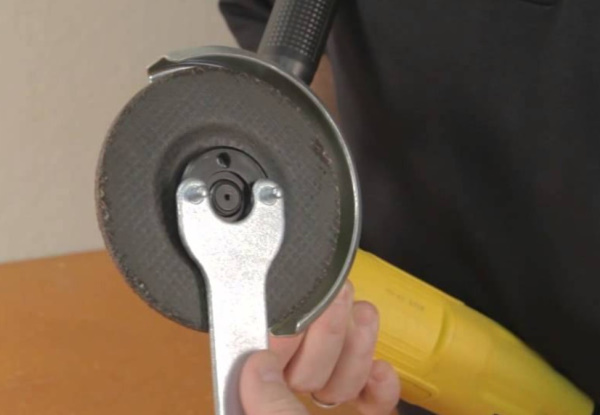
If you don’t own a Metabo angle grinder featuring a unique mechanism for tightening and releasing the disc, your device should boast a special pin wrench. This special component will help to fasten and loosen the disc from your device.
When fastening the disc, you should always use a wrench to assist the disc in conforming to the device better. Many people use their hands to tighten the wheel, which could be risky to utilize. Now, remember that you don’t have to tighten it too much, just a tight fit.
Use 2 hands to stay in control

One of the most important safety precautions that you should follow is to remain in control of the device at all times.
Remember to always use 2 hands holding the device in the proper positions. This provides you with considerably more control and power. Also, never hold the tool using your fingers over the power press.
Check more 11 safety tips when using angle grinders here!
Frequently Asked Questions
1. Are all angle grinders the same size?
Angle grinders come in a variety of grinding/cutting disc sizes, voltages, and wattages. Grinding discs of the following sizes are generally offered for angle grinders:
- 115mm/ 4-½ inch
- 125mm/ 5 inch
- 150mm/ 6 inch
- 180mm/ 7 inch
- 230mm/ 9 inch
Smaller discs tend to wear out faster than larger ones due to the greater speed, but smaller discs are less expensive, so owning a giant grinder may not be worth it.
2. How to install a diamond disc on an angle grinder?
See the arrows on the disc for assistance. There are two arrows that indicate the disc’s intended rotation direction. Once the grinder is working, you must position it so that it turns in the correct direction. You can be sure that the disc is in the right spot because the arrow points in the same direction as the actual rotation.
In a nutshell, learning to use this disc properly can take a fair bit of practice, and it’s a must to know some techniques. Hopefully, after reading this article, you have cleared your mind about when to replace the angle grinder disc.
Moreover, with this article’s helpful knowledge, you are more likely to accomplish the many jobs assigned to an angle grinder disc. If you find this article helpful, freely share it with those who have a similar concern with you.