If you own a mower, you should expect its blade to become dull sooner or later. When your machine has reached its inevitable faith, an angle grinder can be your savior. If you are curious about how to sharpen mower blades with angle grinders, continue reading our article.
Contents
- Signs That The Mower Blades Need Sharpening
- How To Sharpen Mower Blades With Angle Grinders?
- Step 1: Check The Blades
- Step 2: Adjust The Grinding Angle Properly
- Step 3: Plug The Grinder In
- Step 4: Set Forward/Reverse The Motor Switch
- Step 5: Turn It On & Start Cutting
- Step 6: Remove Material On Each Pass
- Step 7: Slide Back & Forth For Both Blades
- Step 8: Check The Blade’s Precise Balance
- Step 9: Clean The Grinder
- Step 10: Finish Your Job
- Sharpen Lawn Mower Blades Without Removing Them
- FAQs
- Last Words
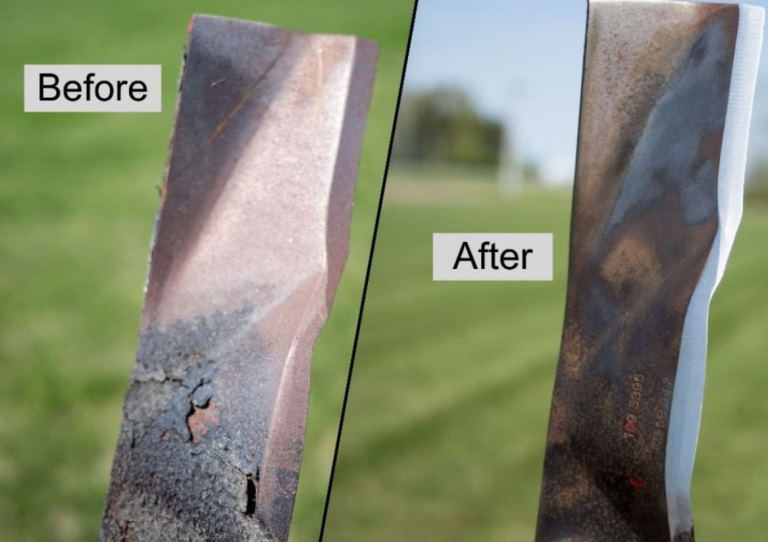
Signs That The Mower Blades Need Sharpening
Typically, you should sharpen your mower’s blades once after 25 hours of usage to avoid lawn damage. However, if you don’t want to keep track of how long you have mowed your grass, there are several signs of dullness that you should check for:
- After being mowed, the lawn is still uneven.
- Your mowed grass has brown tips or frayed edges.
- Your mower’s blades appear to have dulled.
How To Sharpen Mower Blades With Angle Grinders?
Below is the step-by-step guide to help you sharpen lawn mower blades with angle grinders.
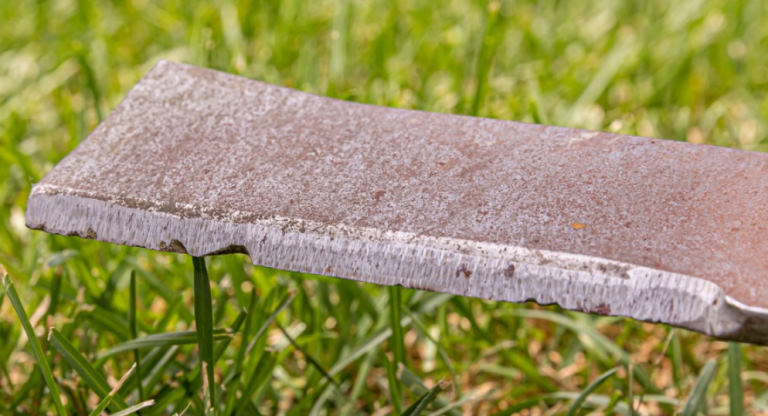
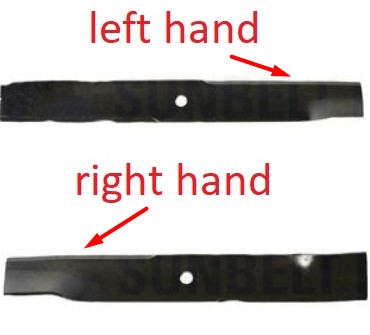
Step 1: Check The Blades
Check to see if your mower blade is left- or right-handed. Place the blade on a level surface with its bottom side down against this surface.
Each end of the blade should be positioned at the “12” & “6” on a clock. Make sure that it extends away from you. Your lawnmower blade is right-handed if the far end of the cutting edge is on your right. By contrast, the mower blade is left-handed if it’s on your left.
Step 2: Adjust The Grinding Angle Properly
The angle at which the grinder is placed is determined by the blade that is to be sharpened.
Place the blade on a table and align its angle with the stone’s face. The grinding edge should appear to be directly touching the stone. If it isn’t touching from end to end, you need to adjust the angle. To modify the grinding angle, loosen the 2 tower screws and turn the top nut to lower or elevate the stone and motor.
For further information, consult your manual. After the correct angle has been attained, double-check the guards’ and plates’ adjustments, then retighten the tower screws.
Step 3: Plug The Grinder In
Connect the power cord to an approved outlet. Insert its safety lock pin into the power switch.
If there is a light on your grinder, make sure that it’s in the right place.
Step 4: Set Forward/Reverse The Motor Switch
Set the motor switch to forward if your mower’s cutting blade is right-handed. With this selection, the blade is drawn toward the stone while the stone spins counterclockwise, causing sparks to fly to the other side of your mower blade.
Notices:
Always stand in front of your angle grinder, not on its sides. The grinding disc’s front should be facing you. This position helps you avoid any material thrown by the grinding disc.
Step 5: Turn It On & Start Cutting
Turn on your grinder and allow the stone & motor to reach full speed. Secure the blade with your hands placed on each end of the sharpened area.
Place the blade level on the table at 90 degrees relative to the 1-inch stone face with the motor running at full speed.
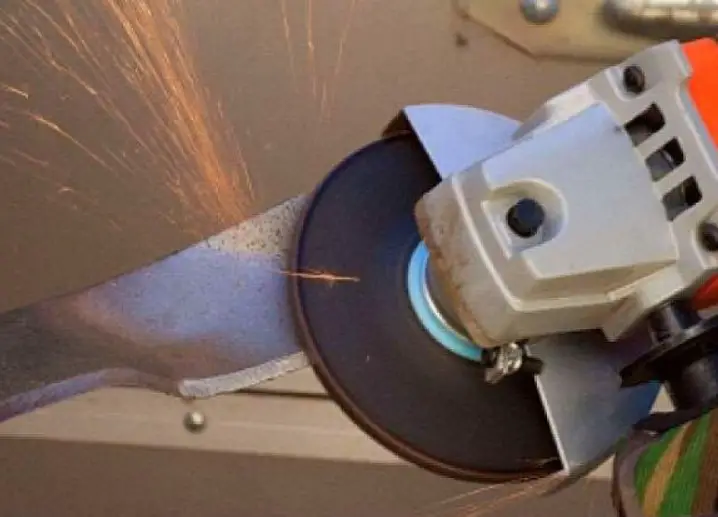
Step 6: Remove Material On Each Pass
With each pass, remove material by moving the blade edge to and fro in the grinding disc’s direction. Secure the blade so that the grinding disc’s surface is parallel to the cutting edge.
As a result, the sparks will fly to the right of the work table if you have selected the ‘forward’ option for the motor switch.
If you own a grit collector, you can attach it to your grinder’s side. This will make it much easier to make your work area tidier.
Step 7: Slide Back & Forth For Both Blades
Continue to slide the blade back and forth across the stone till all nicks and dull areas have been removed from the edge. However, the mower’s blade shouldn’t be sharp as a razor. Instead, you should aim for a .030-inch to .045-inch edge.
Turn the lawnmower’s blade & do the same thing on the other end. Pass the same number of times on the second end as you did on the first one.
Step 8: Check The Blade’s Precise Balance
Remember to turn your angle grinder off before checking the precise balance of the lawnmower blade.
Utilize a blade balancer. The blade should be centered on the cone after the magnetic unit is pushed back. The magnetic hold component should be pulled into place.
Then, hold the blade horizontally and release it. If either of the blade’s ends falls, extra material must be taken from that end. Take the blade out of the balancer, noting the heavier end.
Step 9: Clean The Grinder
Return to the grinder and remove excess material from the heavier end slowly. You should grind excess material solely from the sharpened blade’s edge and never from its ends or back. Additionally, you should frequently check your blade’s balance to reach the optimal point.
Step 10: Finish Your Job
When you’re done sharpening, remove the safety pin from your angle grinder. This removal helps prevent the grinder from being accidentally started or being used without authorization.
Then, switch off the light and sweep the grit as well as dust from your work area.
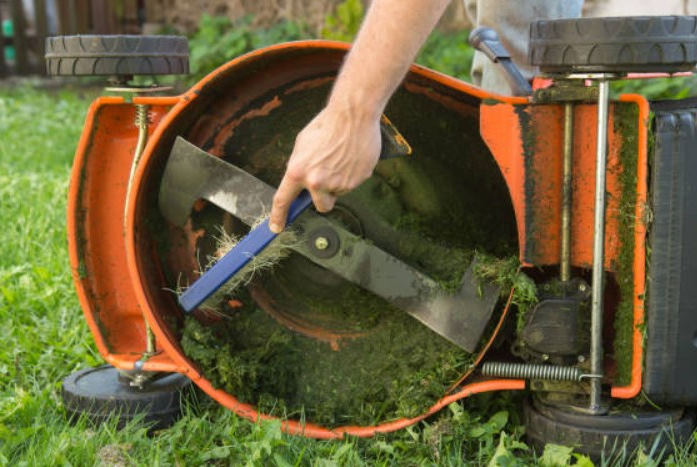
Sharpen Lawn Mower Blades Without Removing Them
You can also sharpen mower blades without removing them. However, this method is not as effective as the method that requires blade removal.
In general, both sharpening methods share the steps, but there are some points that you need to pay attention to.
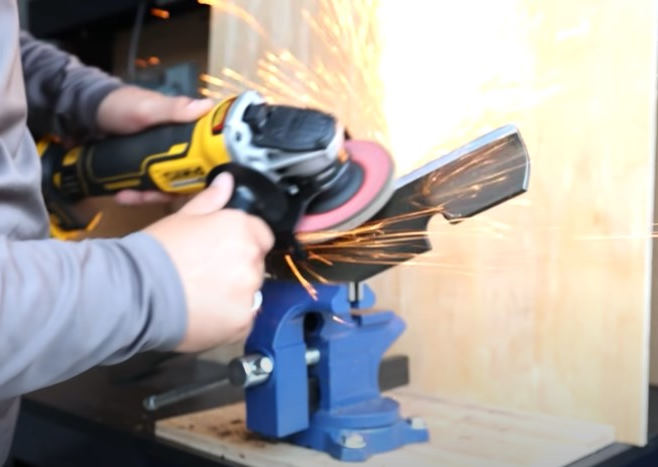
Secure The Blade
You should ensure it’s secured, which will prevent any movement when you try to sharpen the blades. So, you can wedge a 2×4 below the blade and over the mower deck to ensure that the blade doesn’t move while grinding.
Wash The Blade
The blade should be properly cleaned to remove any rust, caked grass, and other debris. After that, you’ll have complete access to the cutting edges of your blade.
Sharpen The Blade
To shapen lawnmower blades without removing them, you need to carefully implement the following steps:
- Maintain a proper angle;
- As you progress farther from the center, use consistent strokes;
- Never draw backward;
- Switch to another edge after finishing one and begin sharpening it.
Only Sharpen When The Gas Tank Is Empty
This helps you avoid fuel loss.
The Blades Must Be Balanced Correctly
If this is not achieved, strange noises will emanate from beneath the lawnmower’s deck.
FAQs
1. At What Angle Do You Sharpen Lawn Mower Blades?
A proper angle during the grinding process plays an important role in guarantee the longevity and performance of your mower blades.
The angled edge of lawnmower blades is manufactured with a certain angle with 30 – 35 degrees being the most typical mower blade angle. You must maintain this angle while you sharpen your lawnmower blades over time.
2. How Often Should You Sharpen The Mower Blades?
The frequency depends on how often you utilize your lawnmower. If you simply use it at home, you may only sharpen its blades once per year. By contrast, more frequent sharpening is required if you’re a professional.
Generally, it is time to sharpen the mower blades if you notice a drop in its cutting performance. This typically happens after 25 hours of usage. Additionally, you should change damaged blades right away.
3. Should Mower Blades Be Razor-sharp?
Your lawnmower’s blades should be very sharp, but razor-sharp. It should be possible for you to touch its blades without getting cut. Unlike many people’s perceptions, a razor-sharp edge doesn’t make your mower cut grass better. In fact, it tends to roll over, causing the blades to be nicked and chipped.
Furthermore, overly sharp mower blades become duller and wear out faster, which necessitates more frequent sharpening and results in a shorter life.
4. Why Keeping The Blade Balanced Is Important?
Keeping your lawnmower blade balanced is critical since it hinders injurious vibration and wears from ruining your mower.
Last Words
We believe that our article should help you have a better understanding of the processes to sharpen mower blades with an angle grinder either with or without removing these blades. However, our recommendation is to remove them since you’ll have a better inspection of the blade’s damage as well as better access to its cutting edges.
If you follow our step-by-step instructions attentively, your blade sharpening task will be done properly.